I recently ordered the arduino development board – it’s a programming board for the ATMEGA8 microcontroller with a built in USB interface. It was extremely cheap (~35 for the board, 3 bucks per ATMega8 chip). The IDE allows you to program in C code and upload it straight to the flash memory on the ATMega, which is called by the bootloader on startup. The ATMega8 is awesome for 3 bucks, it runs at 16mhz, has 1K RAM, 8K flash memory, and 512 bytes of EEPROM memory. Great for a project like this. HOW DOES THIS RELATE TO THE GUITAR HERO CONTROLLER?
Well, long gone are the days when a joystick simply put voltage over a line to indicate a button being pressed. This is true on Atari/Commodore/Sega/Amiga controllers, but nothing recent. Back in the day, if you pressed LEFT, a circuit to a specific pin would be completed on the 9 pin connector. Press up, a different pin would be connected. A pin for every button, it was an easy life. But now PSX, XBOX, GC controllers have a billion buttons and only a limited number of lines, so they encode the data into a serial stream of packets, just like if you were sending data over a serial connection or network.
In comes the ATMega8 microcontroller. The atmega receives the serial stream of packets, decodes them and figures out which buttons are being pressed. It then drops voltage on corresponding lines to the output to the commodore. But before I did that I had to test to make sure my decoding program was working! THIS WAS A NEAT TEST.
First I took a PSX extender cable:

I opened the male connector and got the pins out. I continuity tested each line so I could figure out which color was which pin. I then connected these pins into a solderless protoboard and mapped arbitrary pins off the arduino board into the protoboard.
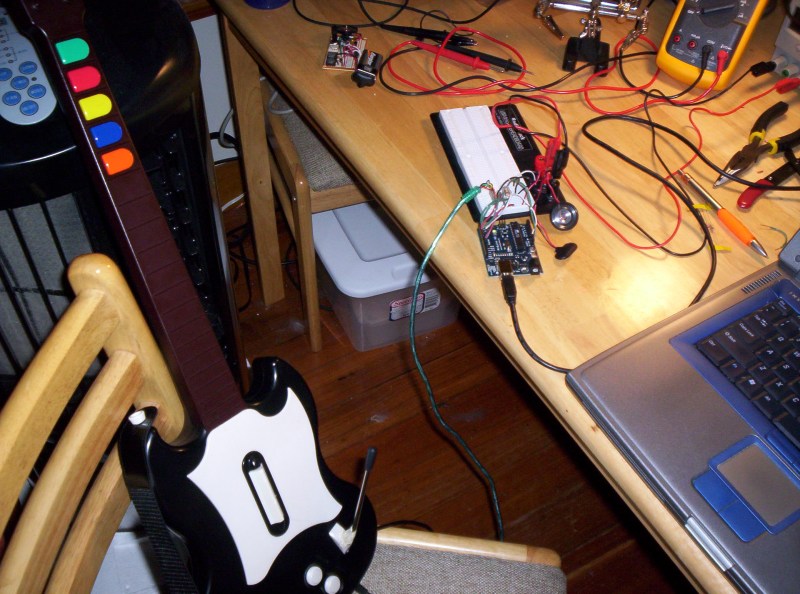
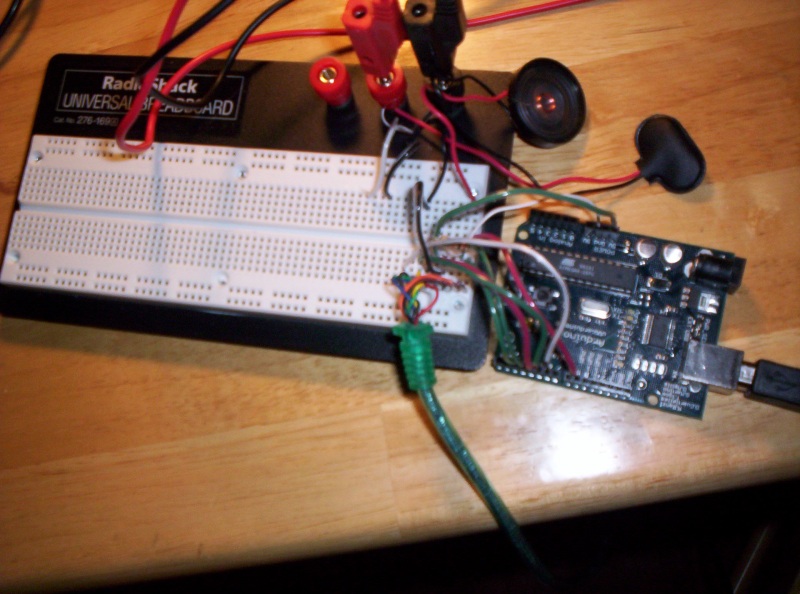
I also hooked a tiny loudspeaker up to the protoboard too and mapped the arduino into it. The goal to test this guy out was to have the ATMega play sounds on the speaker when I strummed with buttons held down on the guitar.
Then was the task of writing the decoder in C. I found some docs online that describe the protocol the PSX controller uses. It basically consists of sending data over a COMMAND line, listening on the DATA line, manipulating the CLOCK line to drive the data, checking the ACK line for good measure (not really necessary), and dropping the ATTENTION line when it was time to wake the controller up. The prototal was the following. Drop the attention line, Send 0x01 over the COMMAND line to the controller, the arduino should receive 0xFF back on the data line. Then the controller is sent 0x42 which is a REQUEST FOR DATA command, at the same time the controller responds back with what mode it is in (Digital or Analog, mouse or whatever). It then sends back 0x5A to indicate “Here comes the data SUCKA”, and then sends 2-7 bytes depending on if the controller is in digital or analog mode. Those bytes contain a bit for each button, either set to 0 or 1 depending on if the button is pressed or not.
It took about two days to get this working, one because I needed to add a 10K pullup resistor across the COMMAND pin as the arduino was polling the controller too fast and the line noise was crapping out any packets I was sending. I found this tip online by someone who had done another PSX controller project. The other was I wasn’t reading and writing data properly with the clock cycle, I was doing more on the rise of the clock and I needed to do things on the fall of the clock. It was frustrating, but eventually I got it working. I then wrote a quick program to print out to my laptop (via the USB serial link) what button was being pressed, then I pressed each button on the guitar controller and saw what the corresponding PSX button was. Here’s THAT:
Green = R2
Red = O
Yellow = Triangle
Blue = X
Orange = Square
Start = Start
Select = Select
Lift guitar up = L2
Strum up = UP
Strum down = DOWN
I couldn’t test the whammy bar out as I know for a fact it manipulates one of the analog sticks, and I don’t know the command yet to force a controller into analog mode, so the guitar starts up in digital mode and disables the whammy bar.
Anyway, I got the decoder working, and using the button map data, I created a little program for the atmega that plays a note through the loudspeaker when the strum bar is hit depending on what key combination is held down during the strum. It basically assigns a frequency value to each key, then adds them together, and plays that. It’s not aligned to real notes right now, I did it more for just a fun test to actually see the thing working. There really is no other steps between here and hooking it to the commodore 64 other than wiring up a DB9 conector.
Here is a recording of me playing the Guitar Hero controller through my interface – Remember, this is NOT what the Commodore 64 game will sound like, this is just a quick hardware test.
That’s it for now! Soon the interface will be done and it will be time to start on the game.

 Hello - and thanks for visiting my site! I maintain ToniWestbrook.com to share information and projects with others with a passion for applying computer science in creative ways. Let's make the world a better and more beautiful place through computing! | More about Toni »


Leave a Reply